Microsoft Continue to Use Local Account
On Windows 11, no matter how careful you may be, at some point, you will run across problems. You may come across errors while downloading or applying system updates. You may unexpectedly lose access to apps, and features like the Start menu, File Explorer, Windows Search, and others may stop working.
Although you may be able to find troubleshooting steps for each unique situation, you can also use a local account to determine if the problem is related to something is happening on your current account as part of the process. If the issue happens to be because of corruption or something going wrong in the account, moving your files and settings to a new account may resolve the problem quickly.
This guide will walk you through the steps to create a local account to troubleshoot and resolve issues on your computer.
How to create a local account on Windows 11
On Windows 11, you can still create a local account without needing a Microsoft account (also called an offline account), which you can use to determine whether the problem is related to the account.
To create a local account (from the old account) on Windows 11, use these steps:
- OpenSettings.
- Click onAccounts.
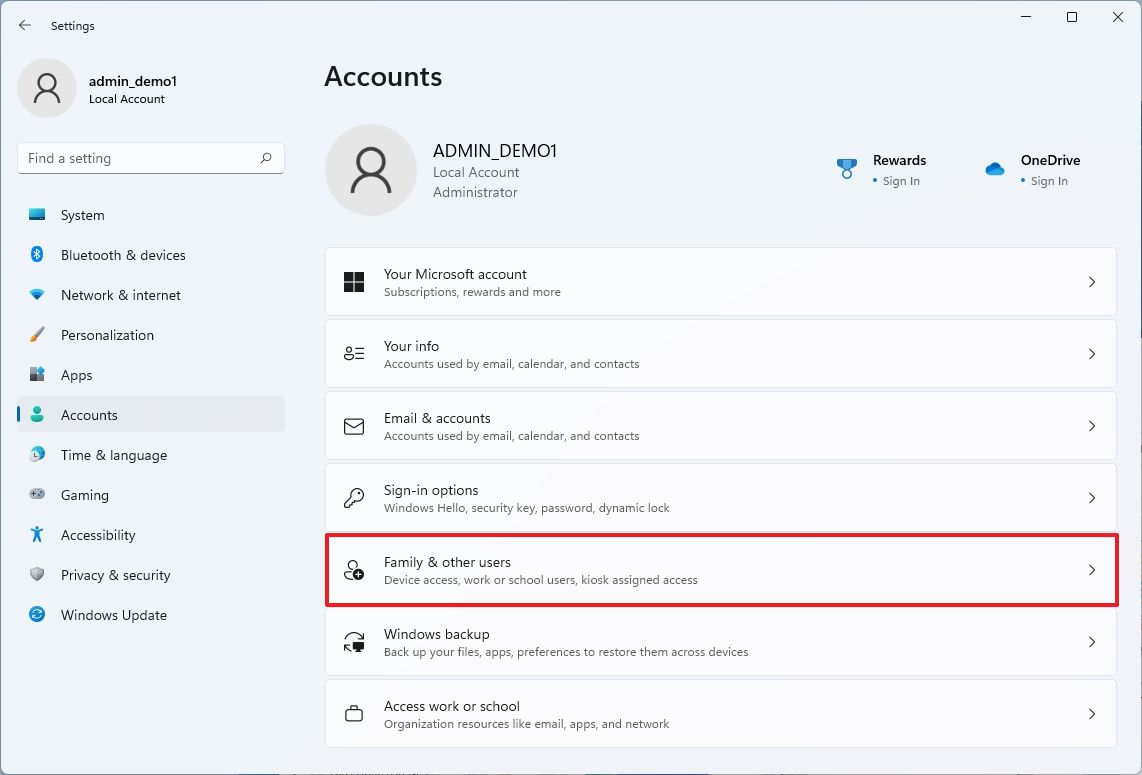
- Click theFamily & other users page on the right side.
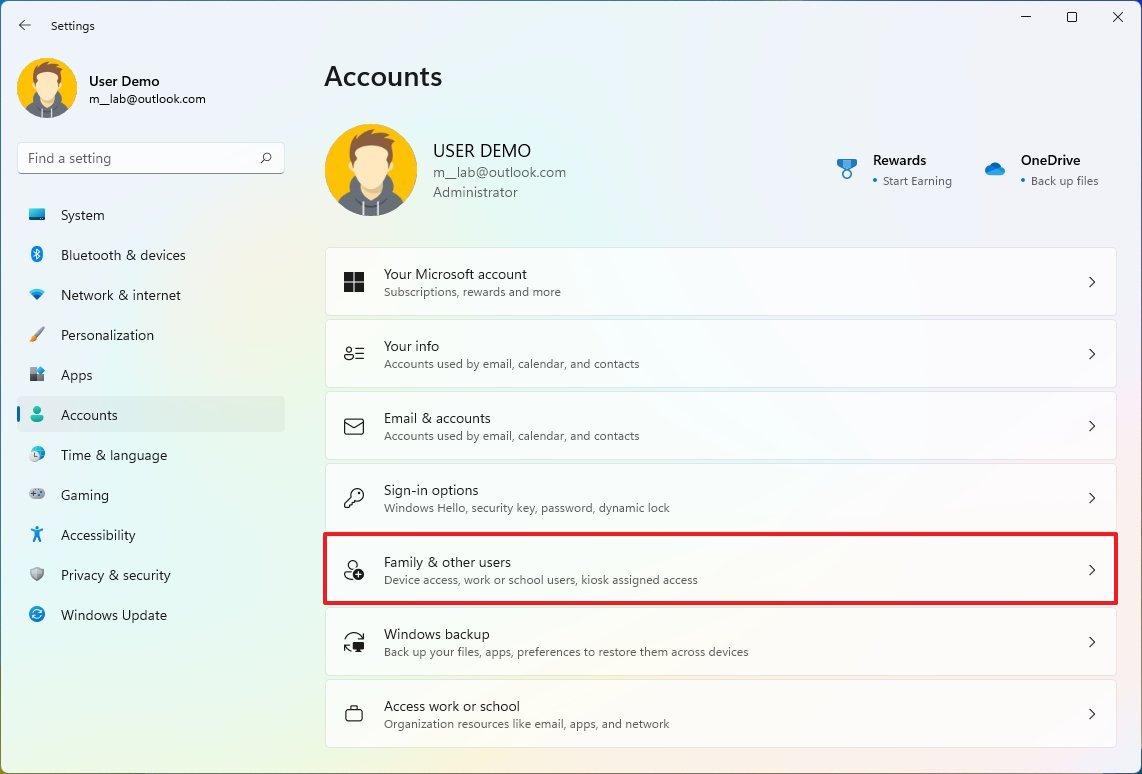
- Under the "Other users" section, click theAdd account button for the "Add other user" setting.

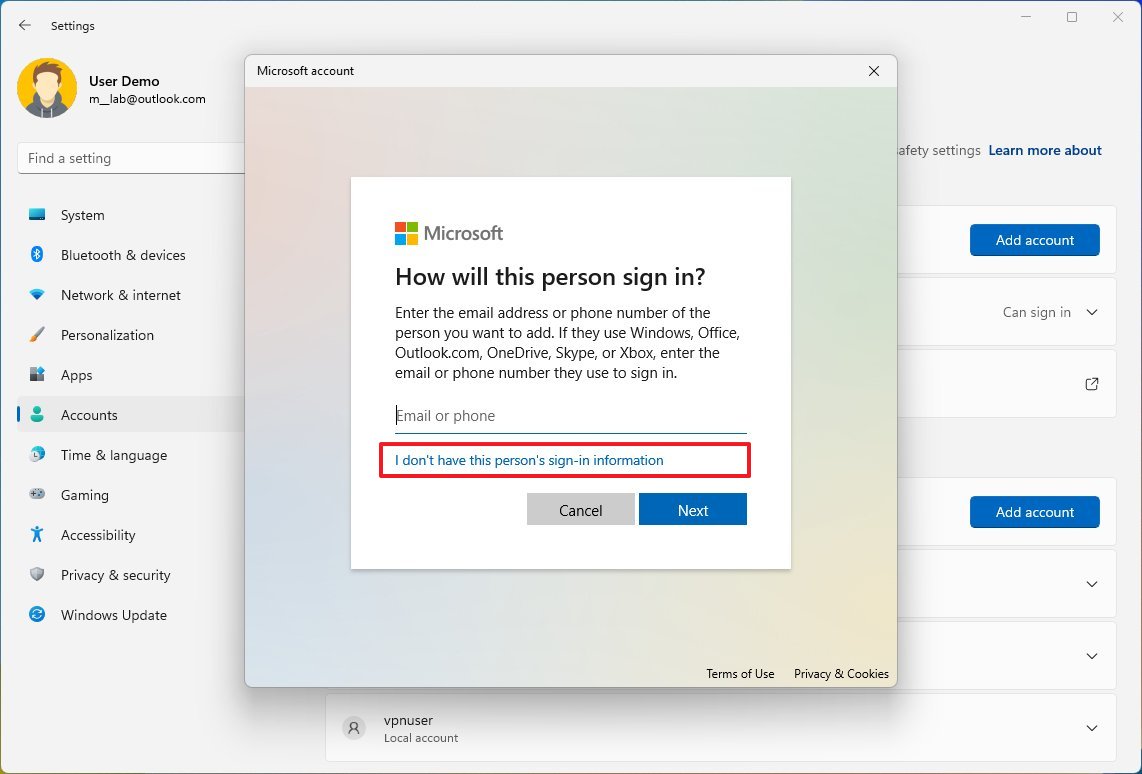
- Click the"I don't have this person's sign-in information"option.
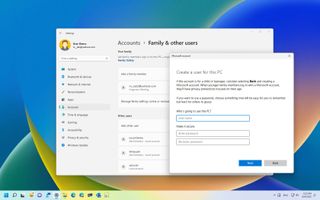
- Click the"Add a user without a Microsoft account" option.

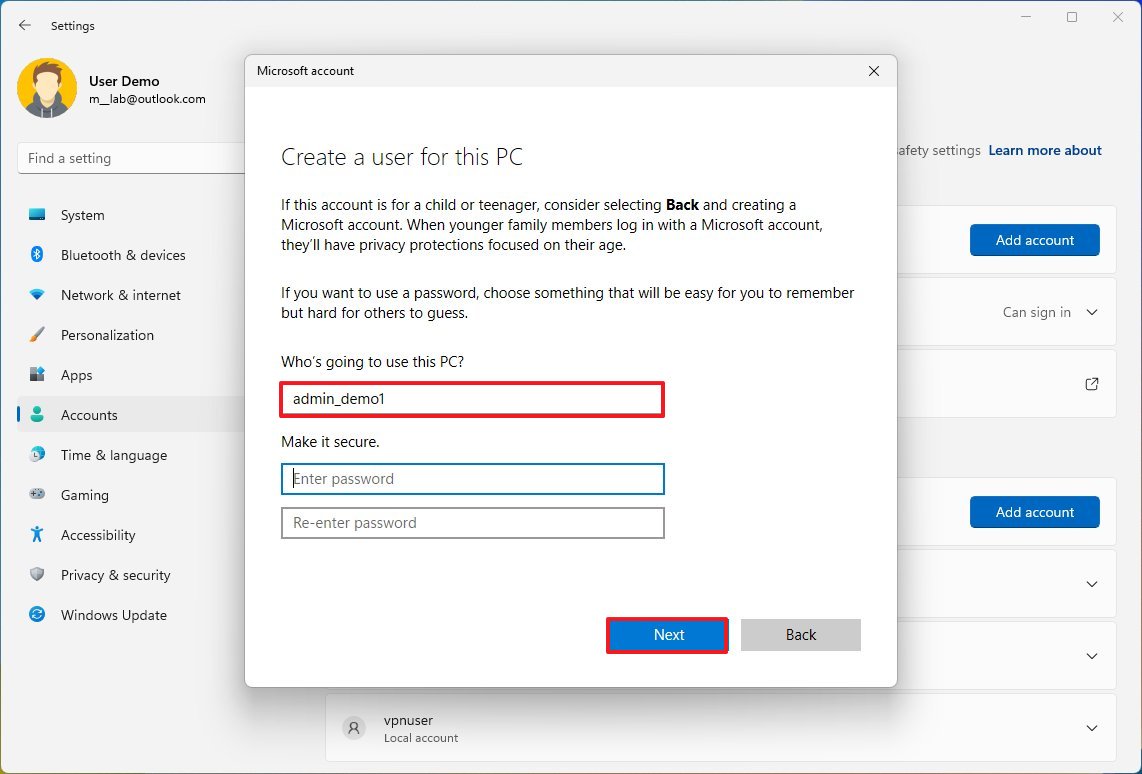
- Confirm the username.
- Skip the password creation.
- Click theNextbutton.
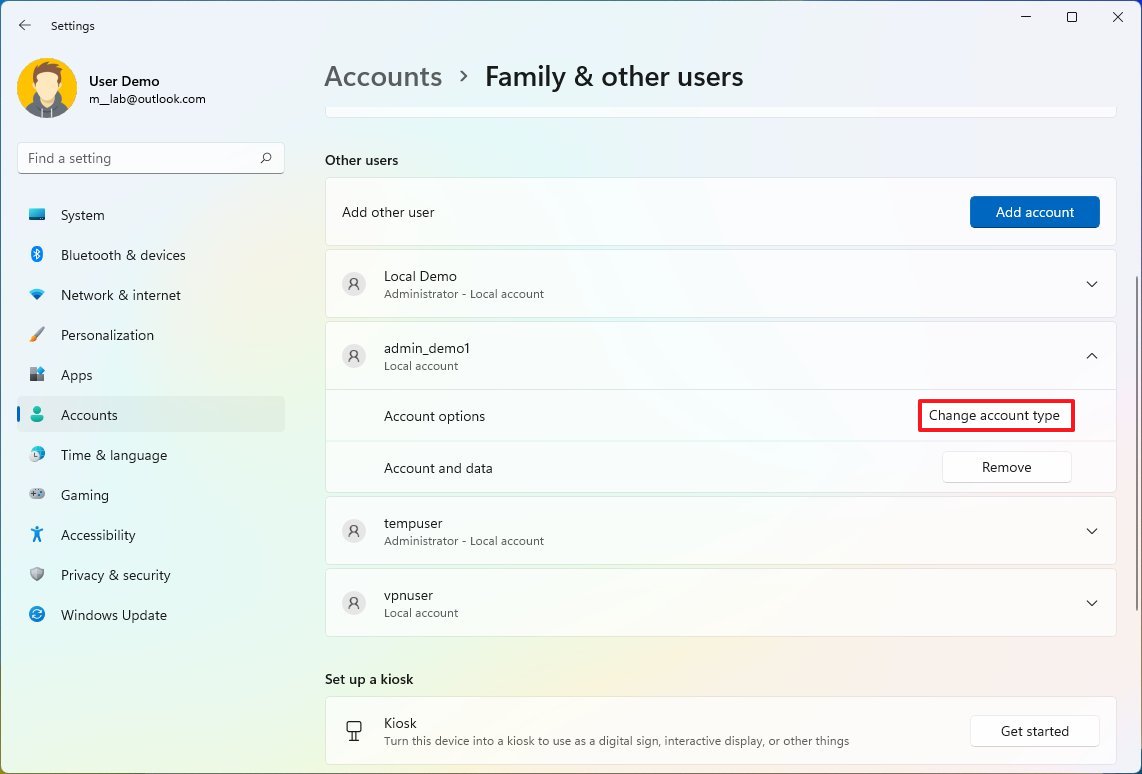
- Under the "Other users" section, select the new account.
- Click the"Change account type" button.
- Use the "Account type" drop-down menu and select theAdministrator option.
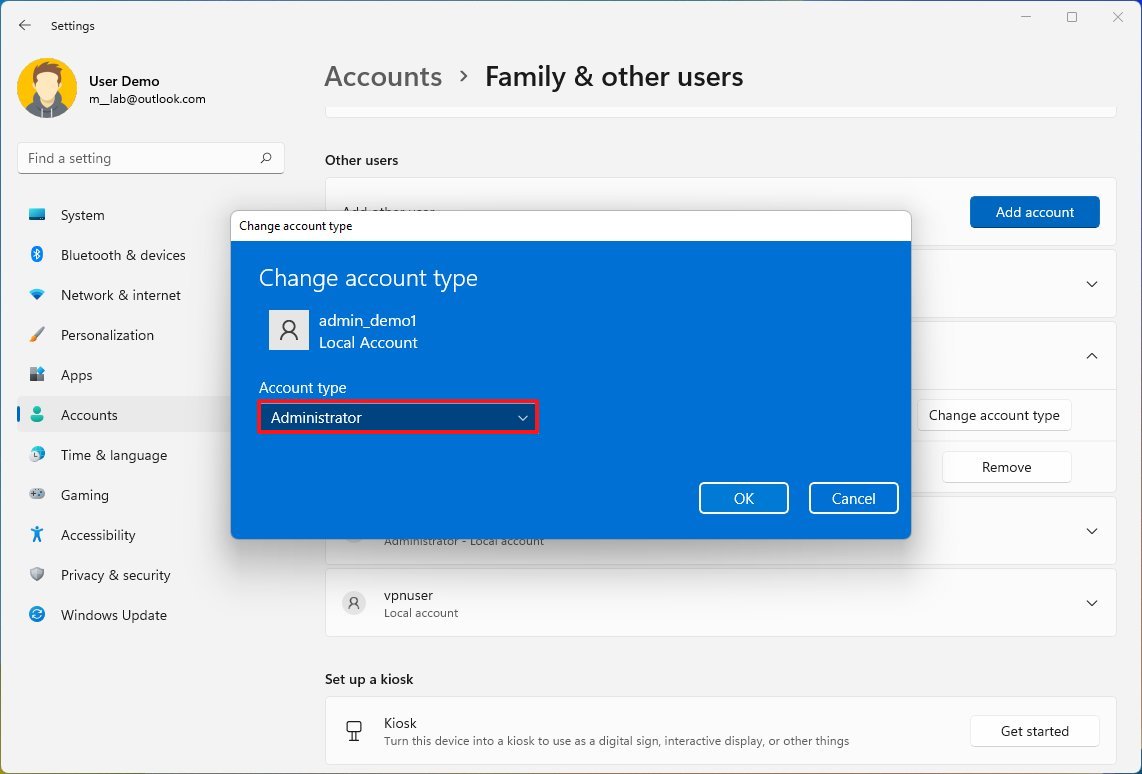
- Click theOK button.
- Restart the computer.
Once you complete the steps, you can continue with the new account to confirm if the old account has problems.
How to use a local account to diagnose problems on Windows 11
To find out if your current profile is broken, use these steps:
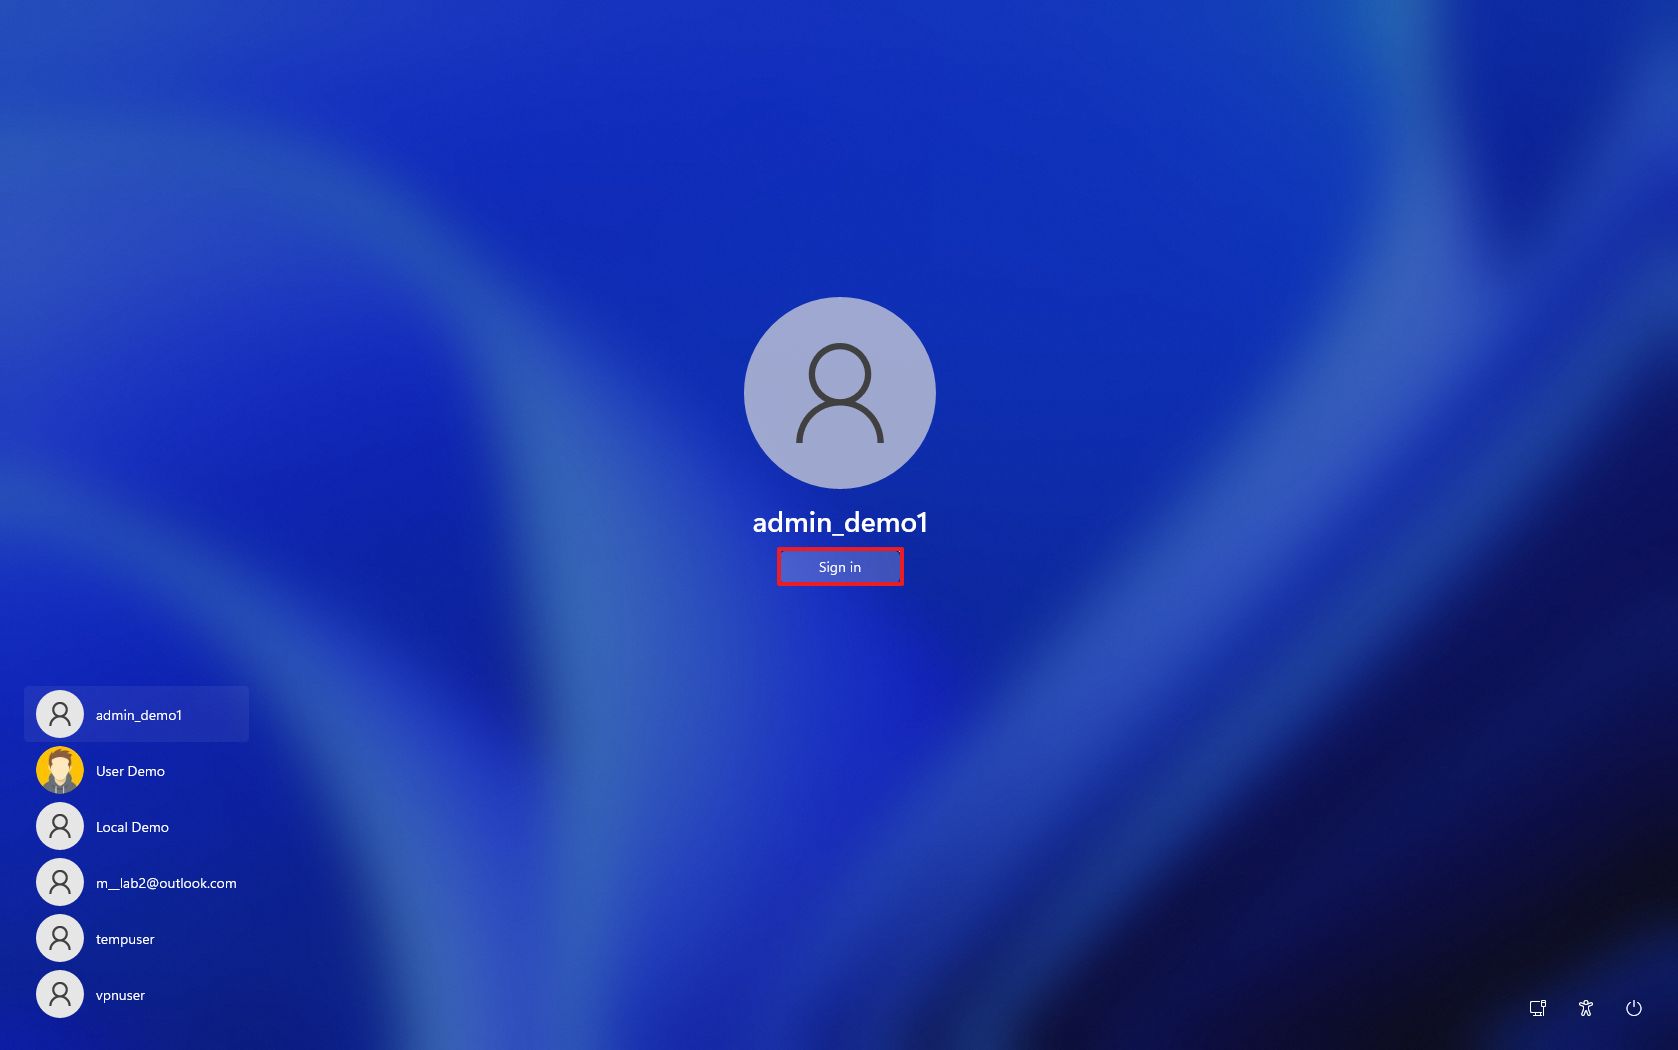
- Select the new administrator account from the Lock screen.
- Click theSign-in button.
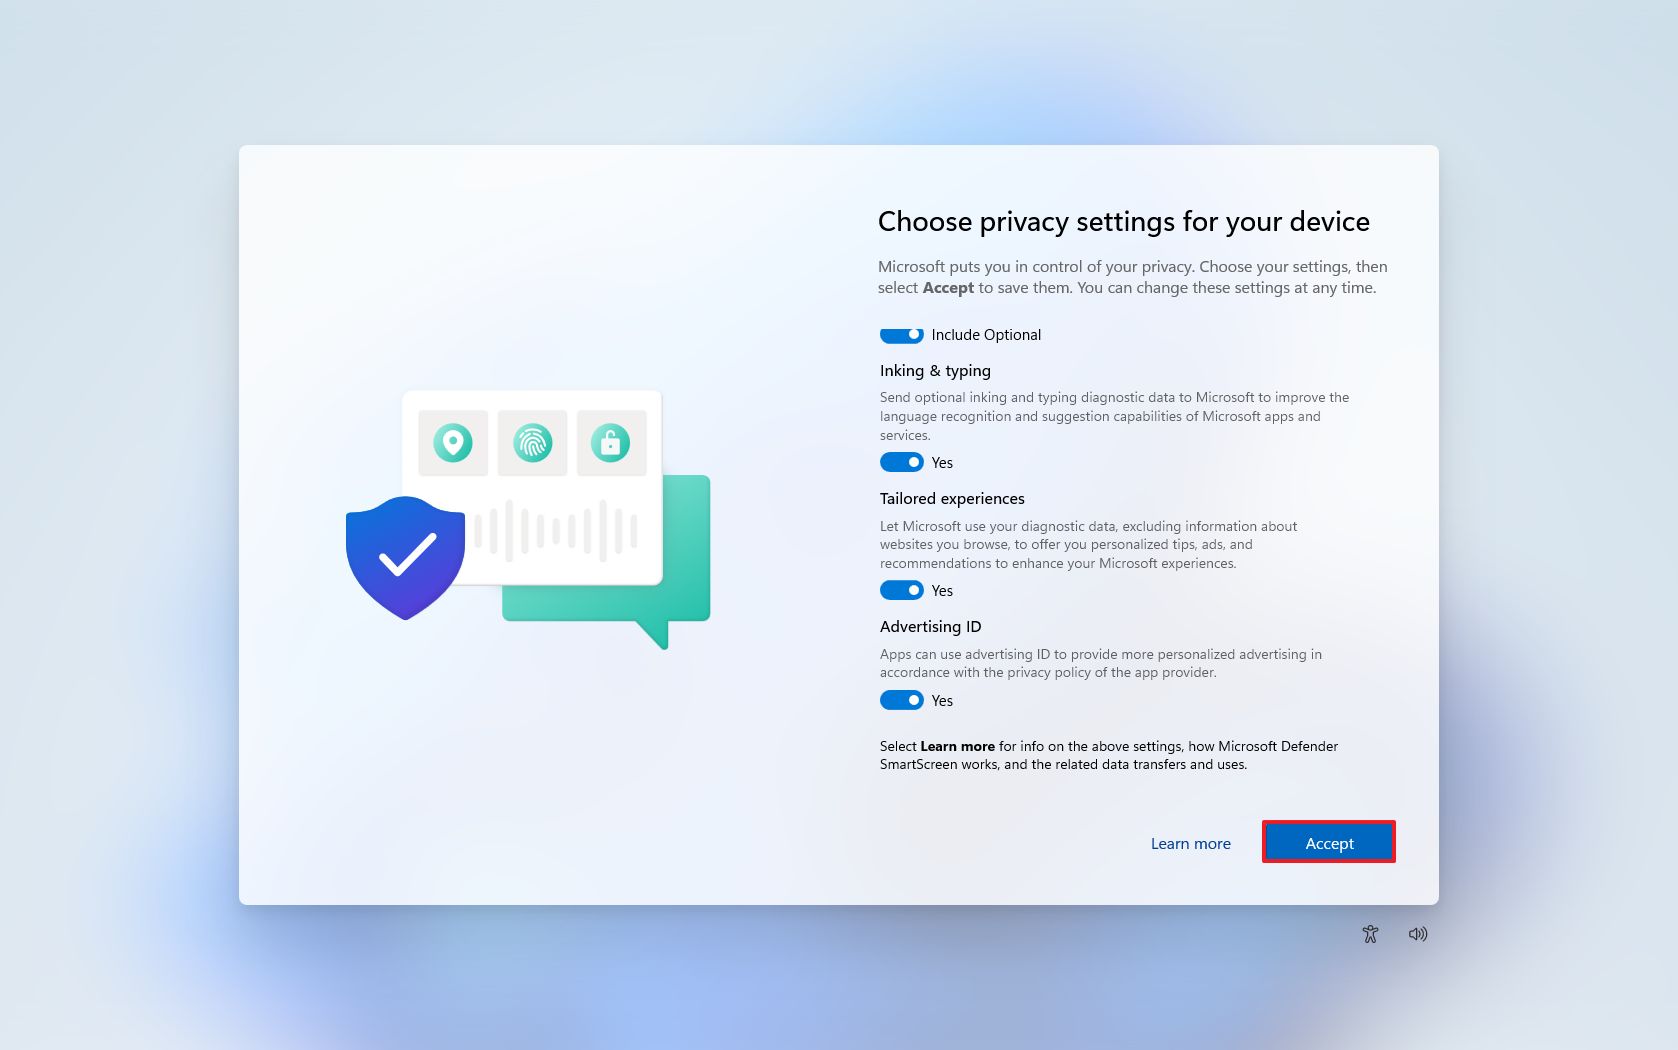
- Choose your privacy settings.
- Click theAcceptbutton.
- Confirm if the problem is still happening.
Once you complete the steps, try and recreate the problem. For example, perform the exact action causing trouble in the other account. If this was an application, try running it to see if the problem appears again. If the problem was a black screen, try using the new account for some time to see if the problem re-occurs.
If the problem is no longer present in the new account, then the issue is likely related to a misconfiguration or something that broke in your previous profile.
If this is the case, you now know that it's not a bug on the system, and you can continue with other troubleshooting steps.
If the same problem persists, it could be something happening on the installation, a device driver, or an app. If you didn't find a solution, the best action would be to start fresh with a clean installation of Windows 11 (opens in new tab).
How to transfer to a new account to fix issues on Windows 11
You should consider transferring your files and switching accounts if you don't see a problem using the new account.
Transfer files to the new account
To transfer your files to the new Windows 11 account, from the new account, use these steps:
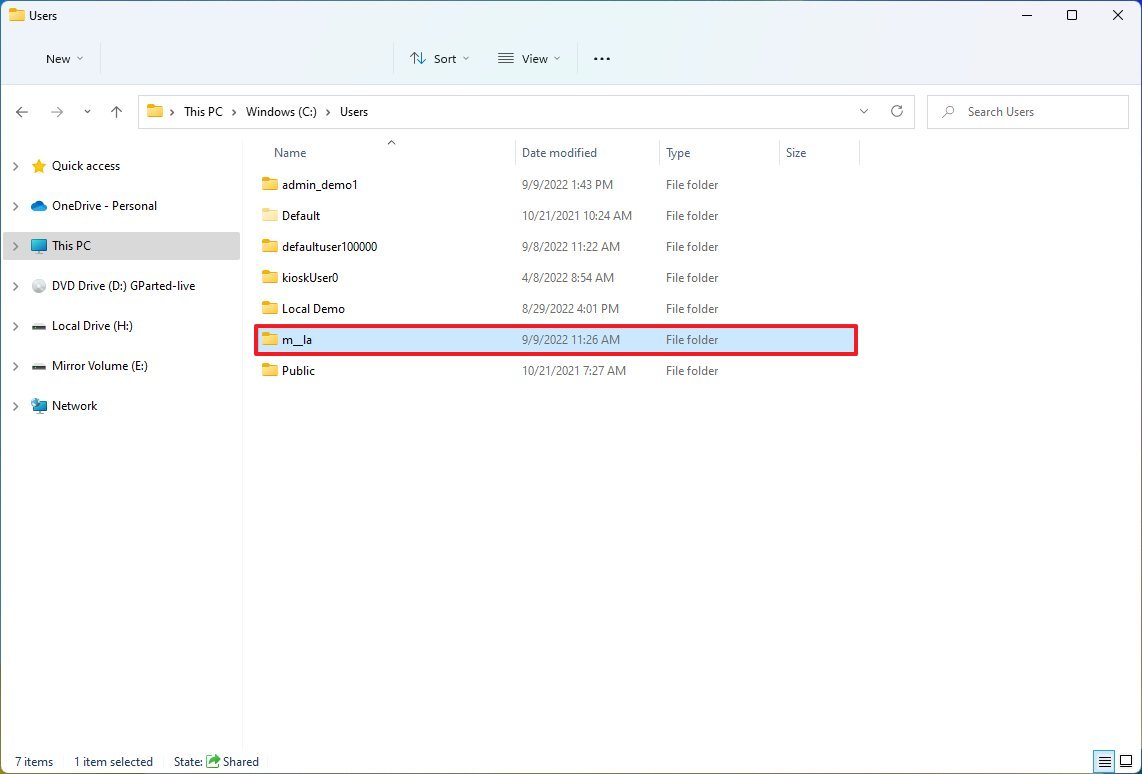
- OpenFile Explorer.
- In the address bar, enter the following path and pressEnter: C:\Users
- Double-click the folder containing your account files.
- Click theContinuebutton if you see the "You don't currently have permission to access this folder" message.
- Grab the window and snap it to the left side (or use theWindows key + Left arrow keyboard shortcut).
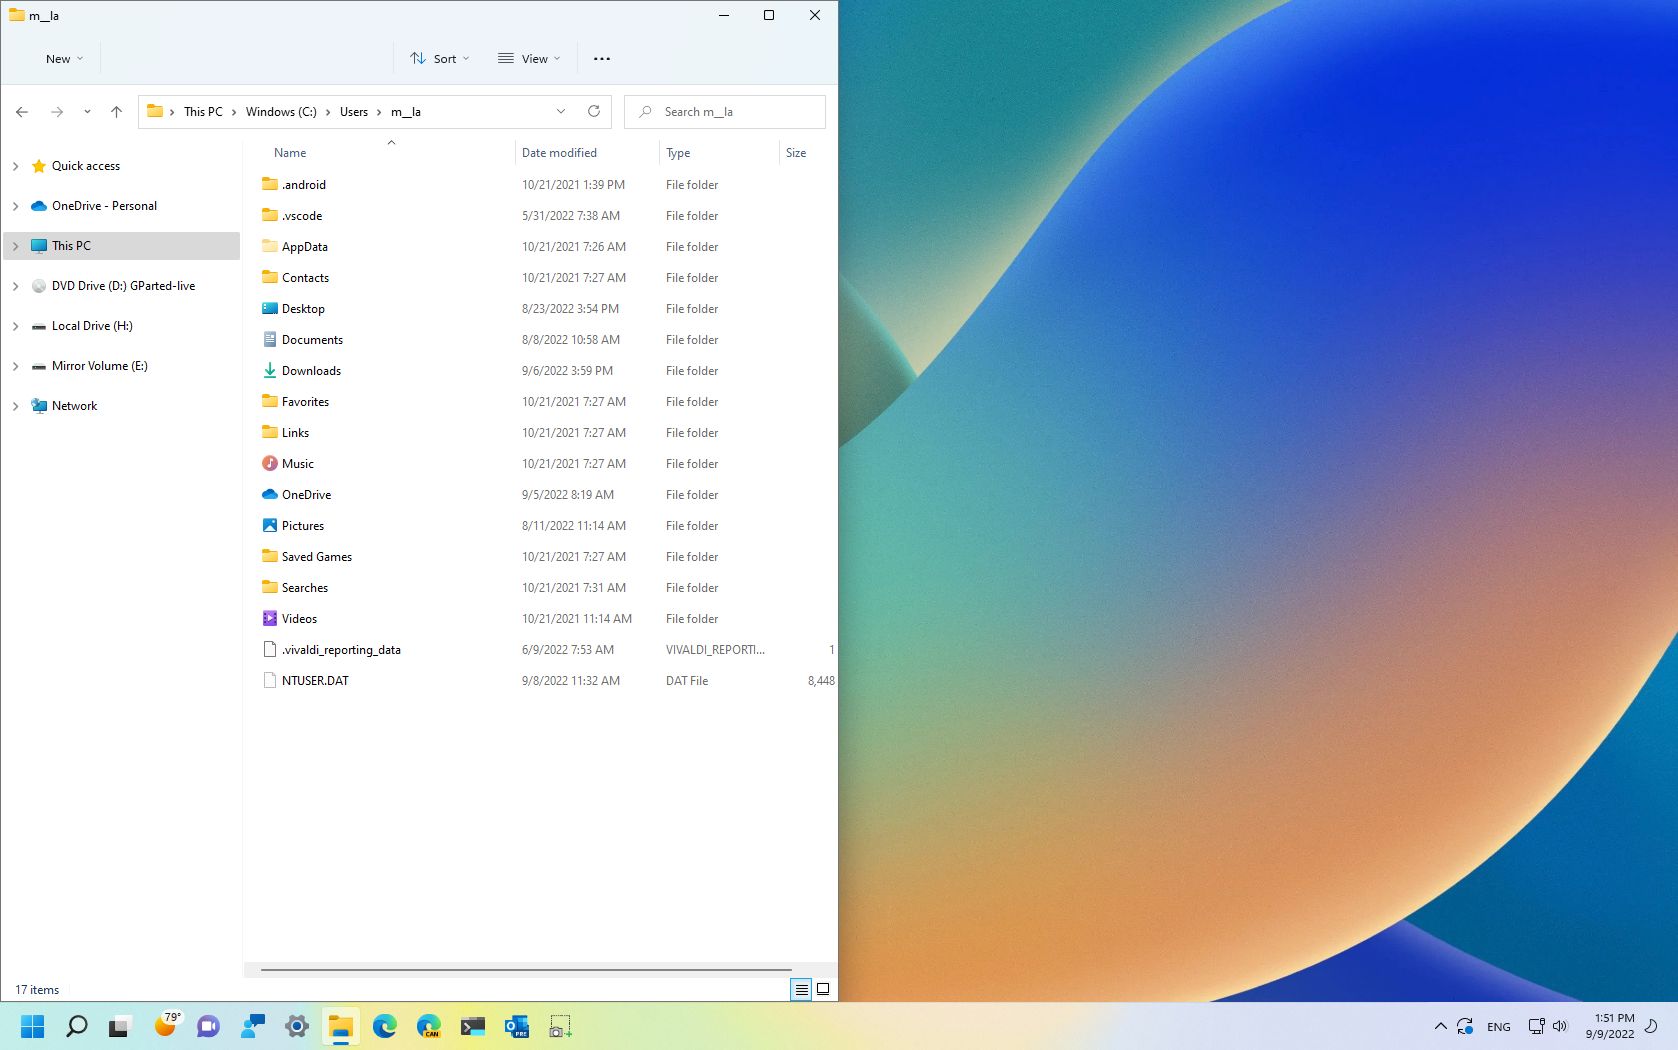
- Open theRuncommand (Windows key + Rshortcut).
- Type the following command and click theOKbutton: %homepath%
- Grap the window and snap it to the right side (Windows key + Right arrow shortcut)
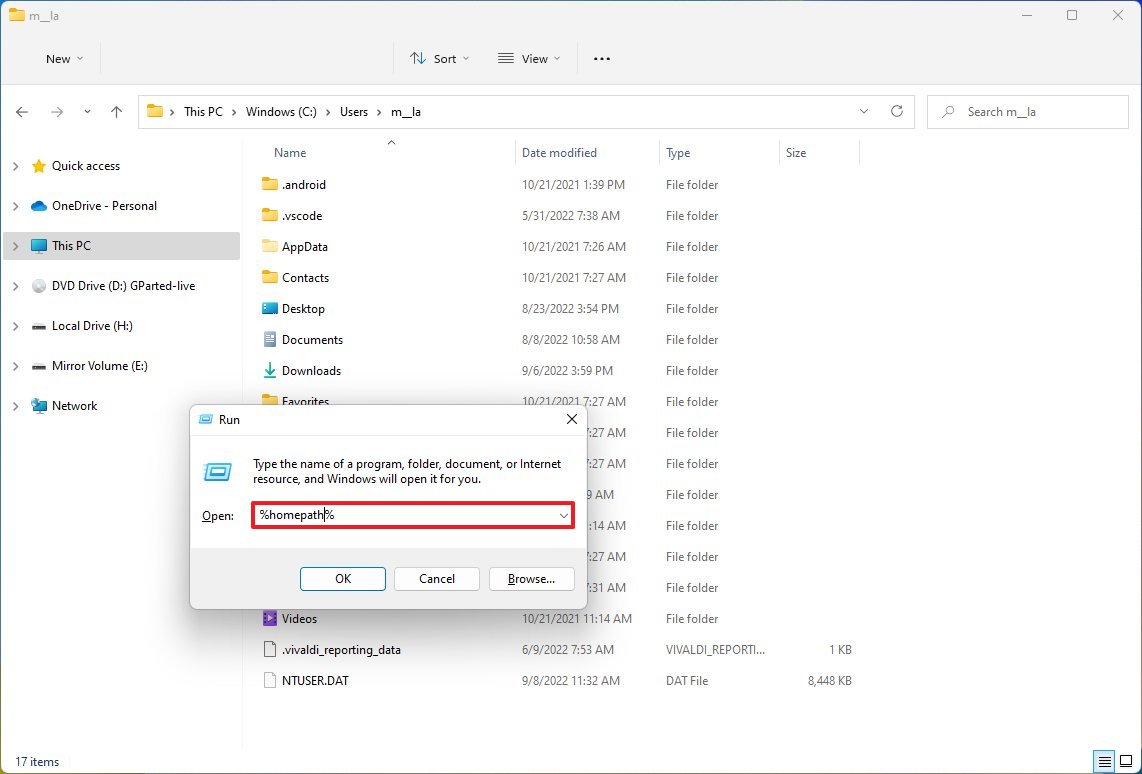
- Select all the folders (Crt + A shortcut) from the new profile (right).
- Right-click the selection and select theDeleteoption to clean the folder.
- Select all the folders (Crt + A shortcut) from the old profile (left).
- Clear the "OneDrive" folder checkbox if you use the service.
- Right-click the selection and select theCutoption to move the files.
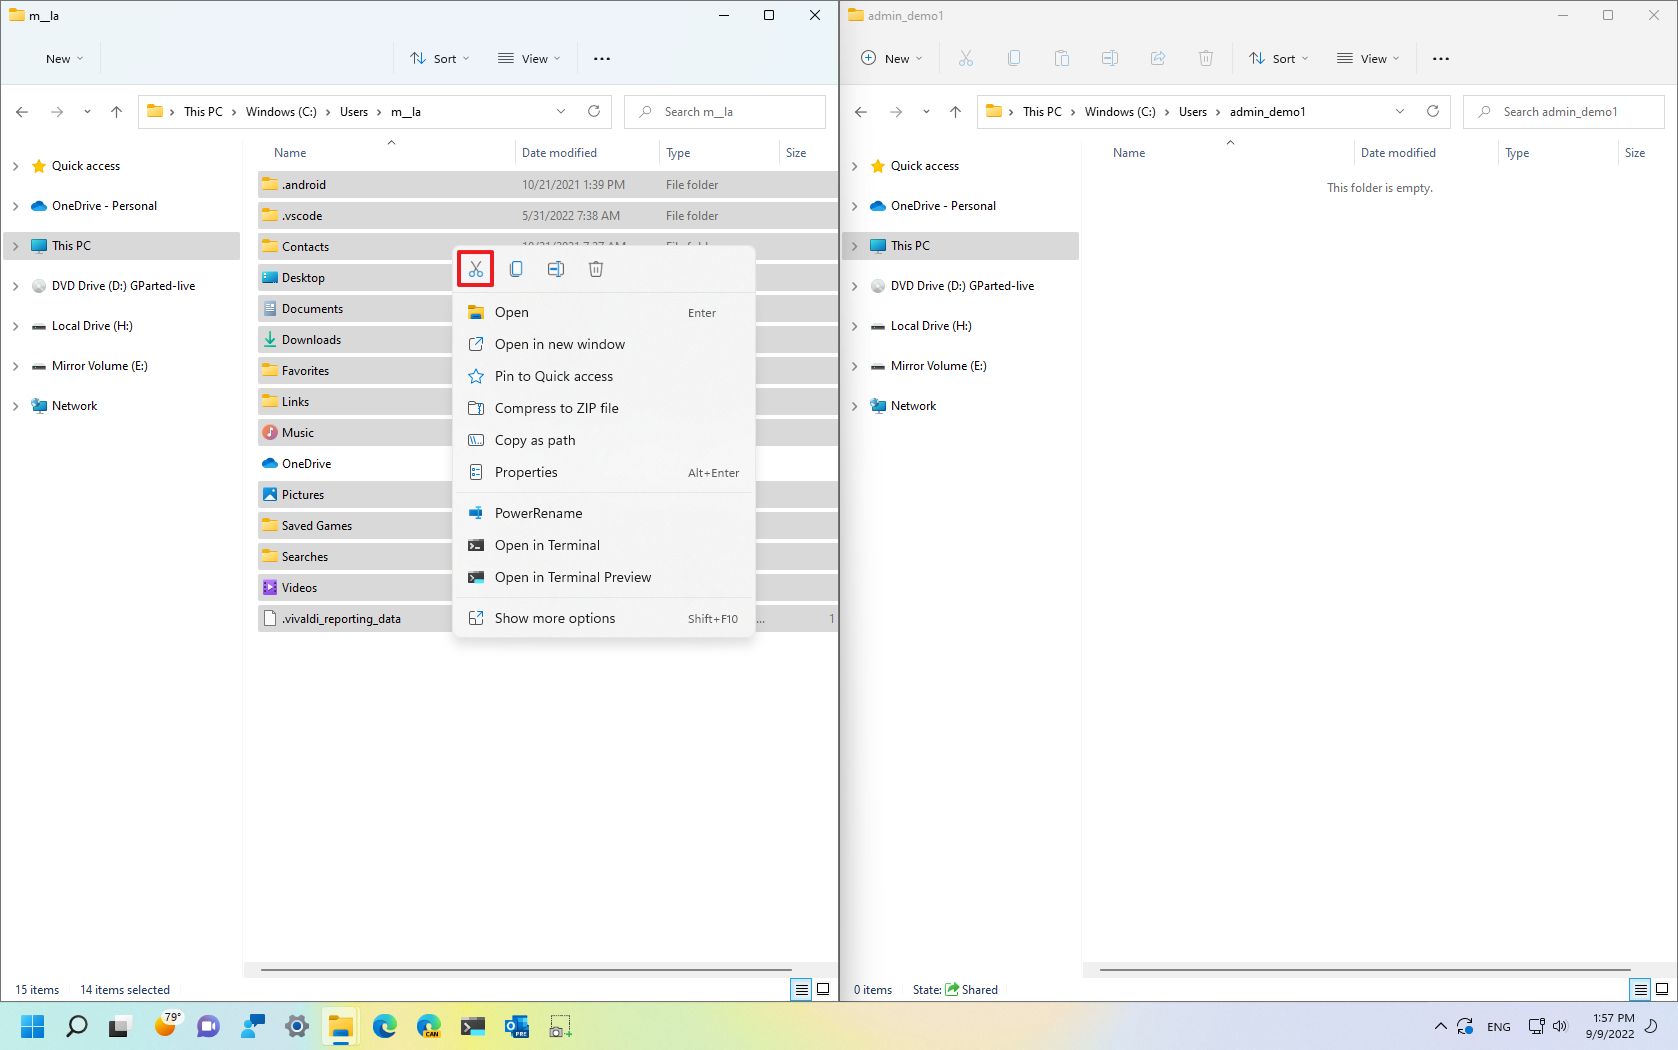
- Right-click the empty folder in the new profile (right) and select thePasteoption.
Once you complete the steps, the files will transfer to the new account.
In addition to moving the files, you want to check that you have access to your applications from the Start menu. Some apps only work on a specific account, so you may need to reinstall, reactivate, or reconfigure some applications in the new account.
Also, if you have some custom configurations, you will need to reapply those in the new account. For example, themes, sync settings, Taskbar and Start menu pins, and others.
If you use OneDrive, remember to set it up after linking the local account to your Microsoft account to access your files.
Delete old account
After moving your files and settings to the new account, you will still need to remove the old profile and then link the local account with your Microsoft account.
To delete the corrupted account from the Windows 11 installation, use these steps:
- OpenSettings.
- Click onAccounts.
- Click theFamily & other users page on the right side.
- Under the "Other users" section, select the old account, and click theRemovebutton.
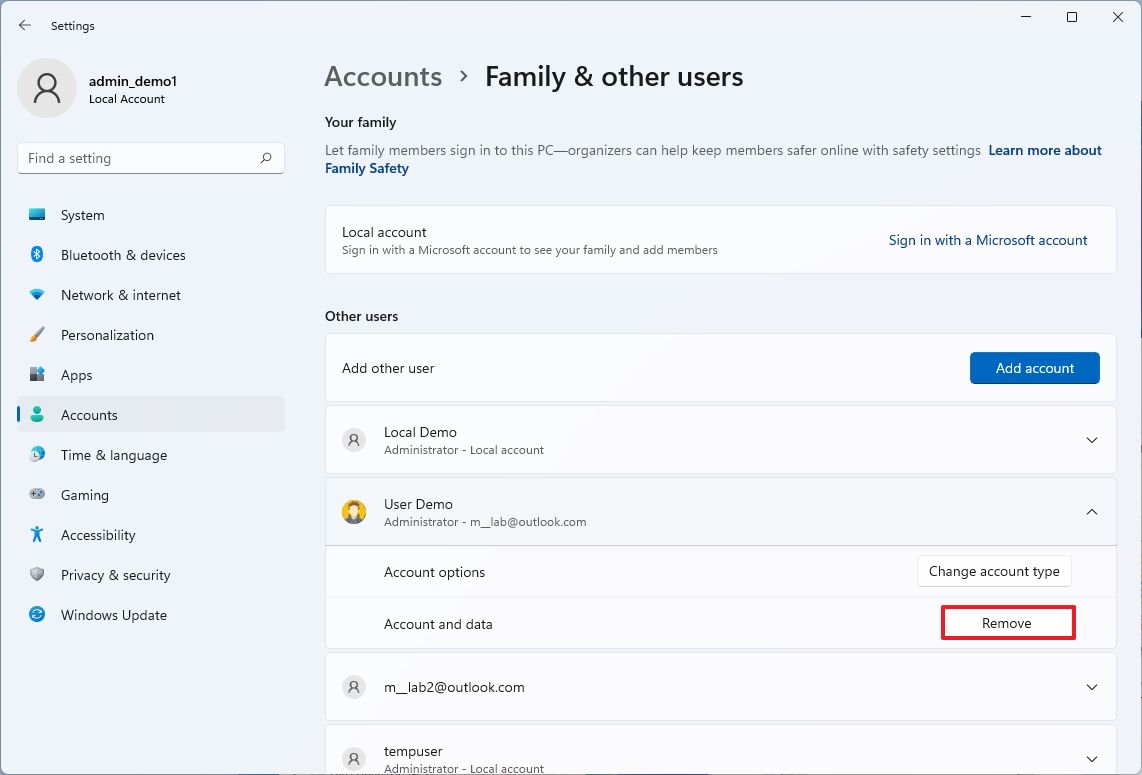
- Click the Delete account and data button.
After you complete the steps, the old account and data will be removed from the computer.
Switch local to Microsoft account
Once you remove the old account with the problem, you must link your new local account with your Microsoft account to regain access to features and services like OneDrive, Microsoft Store, settings syncing, and others.
To switch from a local to a Microsoft account on Windows 11, use these steps:
- OpenSettings.
- Click onAccounts.
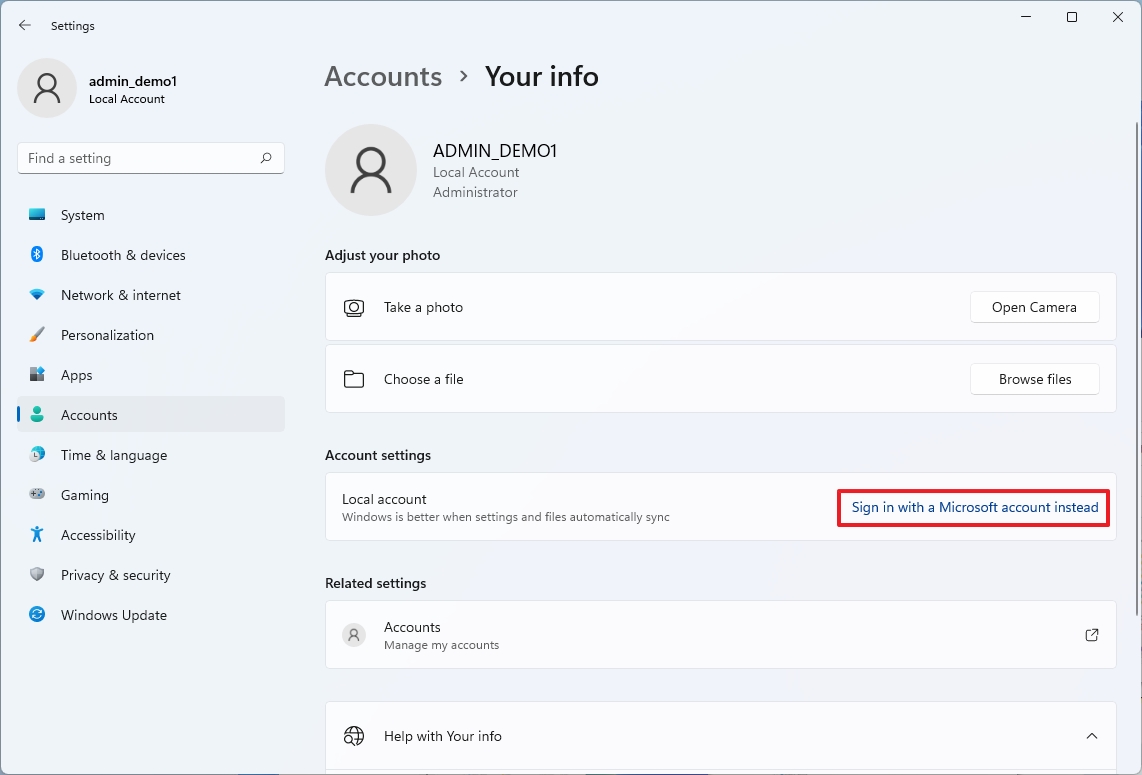
- Click theYour info page on the right side.
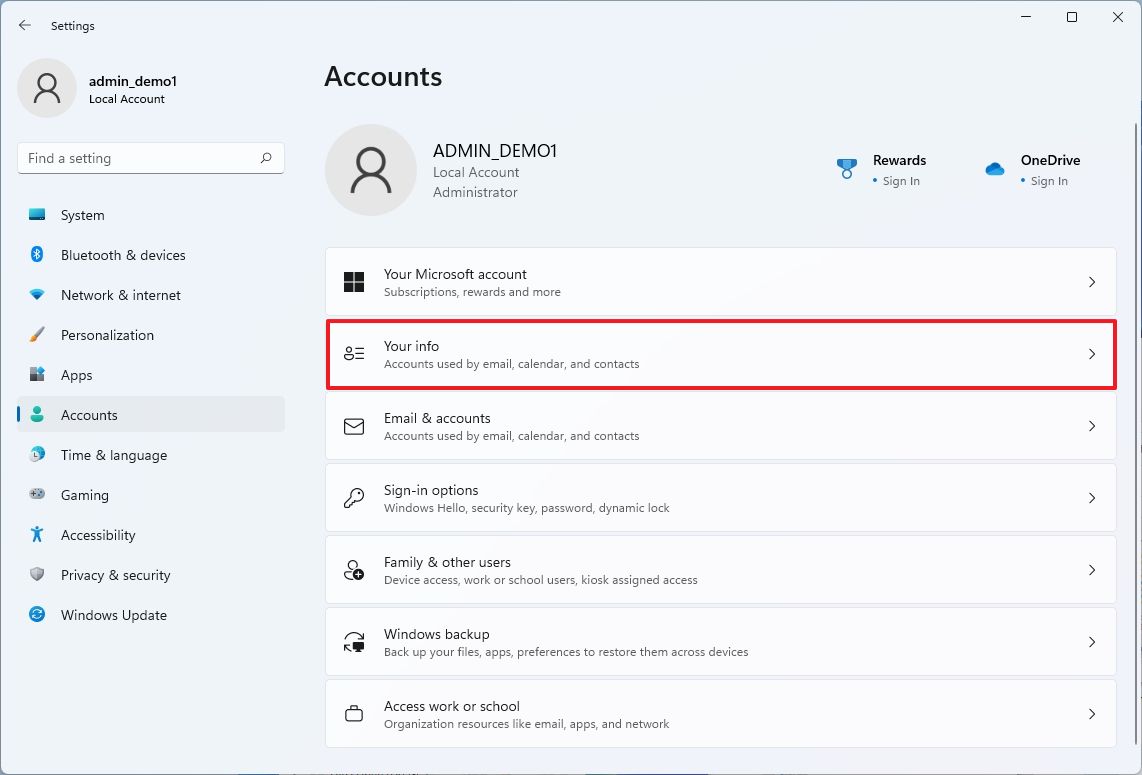
- Under the "Account settings" section, click the"Sign in with a Microsoft account instead" option.
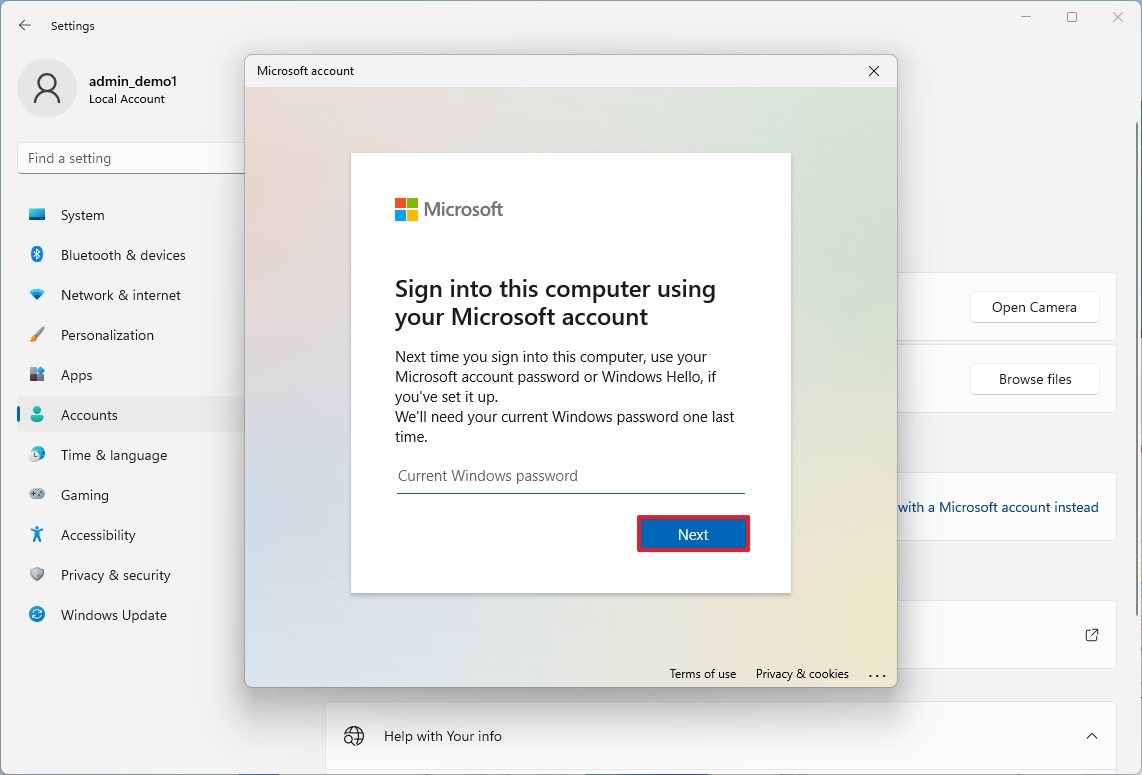
- Confirm your Microsoft account information.

- Click theNextbutton, as you didn't specify a password for the local account.
- Click theNextbutton to set up a PIN.
- Create a newPIN.
- Click theOKbutton.
- Click theVerifyoption on the "Your Info" page (if applicable).
- Continue with the on-screen directions (if applicable).
Once you complete the steps, you can start using the new account on Windows 11.
More resources
For more helpful articles, coverage, and answers to common questions about Windows 10 and Windows 11, visit the following resources:
- Windows 11 on Windows Central — All you need to know
- Windows 10 on Windows Central — All you need to know
Source: https://www.windowscentral.com/software-apps/windows-11/how-to-use-local-admin-account-to-fix-problems-on-windows-11
0 Response to "Microsoft Continue to Use Local Account"
Post a Comment